A reliable Gluten free bread recipe used to feel completely out of reach. My early attempts turned out as dense, sunken bricks with a bizarre aftertaste. I spent years tossing loaves that crumbled into dust the moment a butter knife touched them.
The worst part of baking homemade gluten free bread is that dreaded gummy center hiding under a crusty top. The whole loaf feels raw even after an hour in the oven. This recipe uses a specific hydration balance and protein trick to fix that soggy middle for good.
Here is what we will cover: why psyllium husk changes the structure entirely, how to read the visual cues of a properly proofed dough, and the exact oven temperature that prevents a collapsed crown.
Table of Contents
The Science of a Soft GF Bread Recipe
When you start baking homemade gluten free bread, knowing what is happening in the dough gives you a real edge. Traditional wheat bread relies on gluten strands to trap carbon dioxide produced by yeast. Those strands give you the stretchy crumb and tall rise. Without gluten, your dough has no net to catch those air bubbles, which often leads to a dense, flat brick. This is exactly why a Gluten free bread recipe requires a structural helper. We use a combination of xanthan gum and psyllium husk powder to mimic that elastic network. Xanthan gum provides initial stretch, while psyllium husk absorbs liquid and forms a gel that keeps the bread soft for days. You can explore the basics of wild fermentation in our sourdough bread recipe to see how traditional gluten compares.
The flour blend you choose dictates the final texture. Many store-bought blends lean heavily on white rice flour, which can make baked goods gritty and dry. Our preferred mix leans on lighter tapioca flour for a tender chew, combined with brown rice flour for a toasted, nutty flavor. If you want to see another creative application of alternative flours, our gluten free purple sweet potato roti shows how different starches behave.
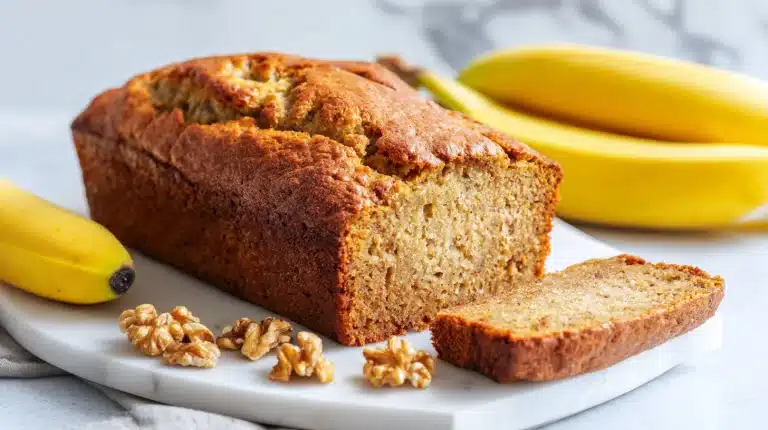
Hydration is another moving target. Gluten free flours absorb massive amounts of water, far more than standard wheat. A wet, sticky batter is actually a good sign here. Do not be tempted to add more flour. The dough should look like a thick, cohesive paste that holds its shape loosely when scooped. You can learn more about moisture management from our sourdough discard banana bread, which handles wet dough beautifully.
Temperature matters for yeast activation too. Your milk and water should be warm to the touch, around 105 degrees Fahrenheit. If the liquid is too cold, the yeast will not wake up. If it is too hot, you will kill the yeast and the dough will never rise. Keep your eggs and egg whites at room temperature so they incorporate smoothly without shocking the mixture.
Print
The Only Gluten Free Bread Recipe You Will Ever Need
- Total Time: 85 min
- Yield: 1 loaf (12 slices) 1x
- Diet: Gluten Free
Description
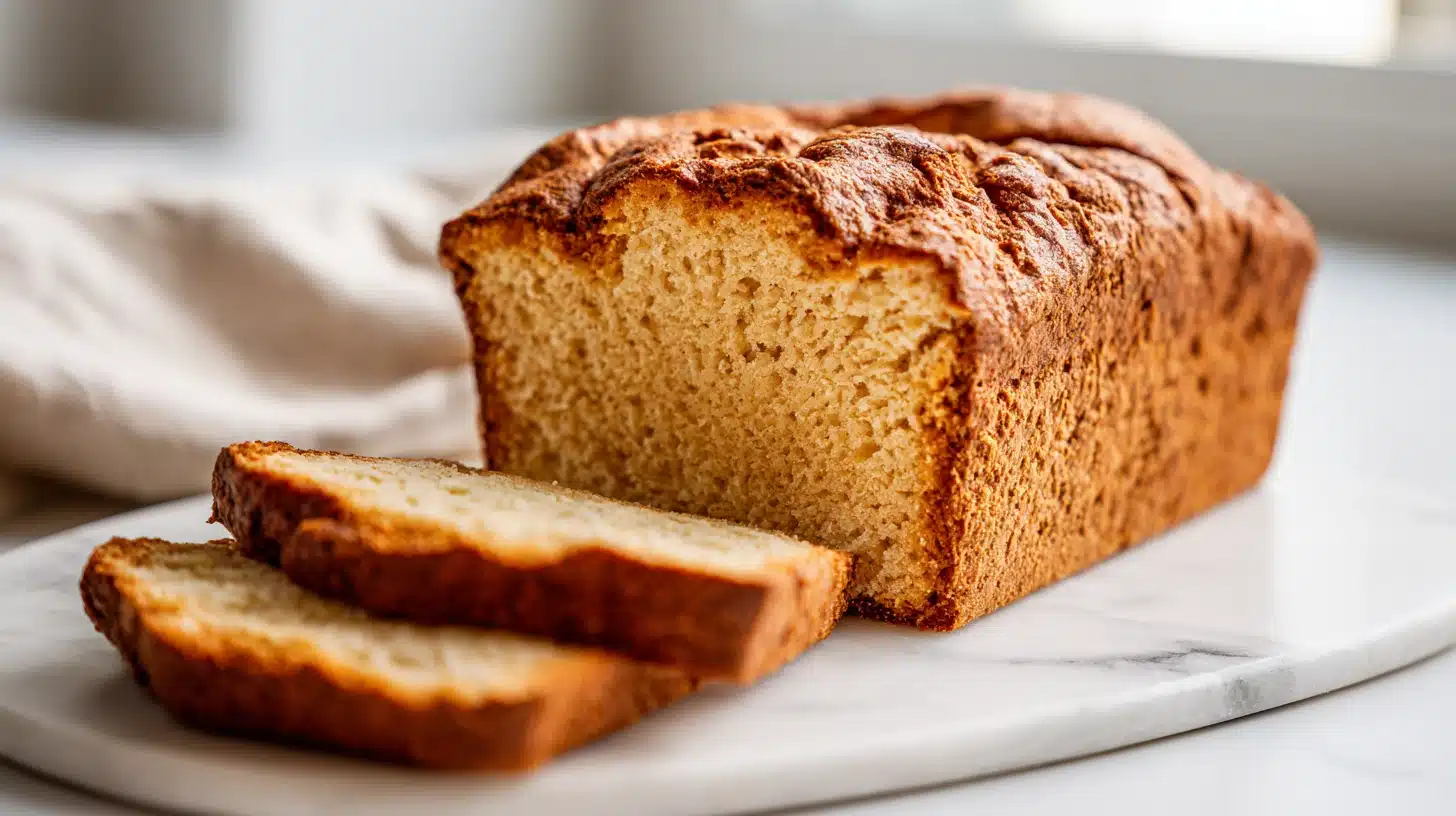
This soft and tall gluten free bread recipe yields a perfect loaf for sandwiches and toast. The dough uses psyllium husk and egg whites to create a flexible structure that bakes up with a golden crust and a tender, airy crumb.
Ingredients
For the dough:
2 cups gluten free flour blend (with xanthan gum)
1 cup white rice flour
2 tablespoons tapioca flour
1 tablespoon psyllium husk powder
2 teaspoons active dry yeast
1 teaspoon sugar
1 teaspoon salt
3 large egg whites (room temperature)
1 cup warm milk (105 degrees Fahrenheit)
2 tablespoons olive oil
1 teaspoon apple cider vinegar
Instructions
1. Combine the warm milk, sugar, and active dry yeast in a small bowl. Let it sit for ten minutes until frothy and smelling like warm beer.
2. Whisk together the gluten free flour blend, white rice flour, tapioca flour, psyllium husk powder, and salt in the bowl of a stand mixer.
3. Add the room temperature egg whites, olive oil, and apple cider vinegar to the dry ingredients. Pour in the foamy yeast mixture.
4. Turn the stand mixer on medium speed and beat the dough for five full minutes until it becomes glossy, thick, and pulls away from the sides of the bowl.
5. Scrape the sticky dough into a greased loaf pan. Wet your hands and smooth the top into an even dome.
6. Cover the pan with plastic wrap and a damp towel. Let the dough proof in a warm spot for forty five minutes until it crests just above the rim.
7. Preheat your oven to 375 degrees Fahrenheit. Bake the bread for forty minutes until the crust is a deep mahogany brown.
8. Let the bread cool in the pan for ten minutes, then turn it out onto a wire rack to cool completely before slicing.
Notes
Store the cooled slices in an airtight container at room temperature for up to 3 days. Add a paper towel to absorb moisture.
Freeze slices individually on a baking sheet, then transfer to a freezer bag for up to 3 months. Toast directly from frozen.
For a dairy free option, substitute the warm milk with unsweetened almond milk or oat milk.
- Prep Time: 15 min
- Rest Time: 30 min
- Cook Time: 40 min
- Category: Breakfast
- Method: Baking
- Cuisine: American
Nutrition
- Serving Size: 1 slice
- Calories: 155 kcal
- Sugar: 1 g
- Sodium: 210 mg
- Fat: 5 g
- Saturated Fat: 1 g
- Unsaturated Fat: 4 g
- Trans Fat: 0 g
- Carbohydrates: 26 g
- Fiber: 2 g
- Protein: 4 g
- Cholesterol: 0 mg
Mixing and Kneading Gluten Free Yeast Bread
Mixing gluten free bread dough is entirely different from working with traditional wheat. You will not be kneading a smooth, springy ball on your countertop. Instead, this is a batter dough that comes together best in a stand mixer. Start by blooming your active dry yeast in warm milk with a pinch of sugar. Within ten minutes, it should become frothy and smell distinctly like warm beer. If it does not bubble, your yeast is dead and you need to start over.
Once the yeast is active, pour it into your dry ingredients. Add the room temperature egg whites and a splash of apple cider vinegar. The vinegar is a mild acidifier, which helps the bread hold its shape and extends the shelf life. Turn the stand mixer on medium speed and let it run for a full five minutes. You want to see the dough whip and become glossy, pulling away cleanly from the sides of the bowl. This extended mixing forces air into the dense batter, which gives the yeast something to push against during the rise.
After mixing, the dough will still look wet and sticky. Grease your loaf pan generously with butter or oil. Do not try to shape this dough on a floured surface like a traditional baguette. Instead, use a wet spatula to scrape the batter directly into the pan. Wet your hands and use them to smooth the top into an even, domed shape. Cover the pan loosely with plastic wrap and a damp kitchen towel to keep the dough from drying out.
This dough does not require a punch down. Let it proof in a warm, draft-free spot until it has doubled in volume. If you are making a make ahead banana bread breakfast casserole, you understand the importance of overnight resting. For this yeast bread, a warm spot takes about forty five minutes. You will know the dough is ready when it crests just above the rim of the pan. The top should look smooth and puffy, not cracked or dried out.
Baking and Cooling Your Gluten Free Sandwich Bread
Baking a Gluten free bread recipe requires a bold approach to temperature. Preheat your oven to 375 degrees Fahrenheit. Many bakers make the mistake of baking GF bread at a lower temperature, terrified of burning the crust. A lower heat results in a gummy center because the internal temperature of the dough does not climb fast enough to set the crumb. Slide the loaf pan into the center of the oven and bake for forty minutes.
During the bake, the bread will smell incredible. Your kitchen fills with a warm, yeasty aroma that makes it hard to wait. Keep an eye on the crust. If it turns a deep mahogany brown before the time is up, tent the pan loosely with aluminum foil. The crust needs to be firm to the touch, and the loaf should sound hollow when tapped. That firm crust means the internal structure has completely set, which prevents a soggy bottom. For a sweet comparison, our gluten free chocolate cake also relies on visual cues rather than just the clock.
Cooling is the hardest part. You must resist slicing into the loaf while it is hot. Gluten free bread finishes cooking as it cools. If you slice it hot, the steam escapes and you end up with a dry, gummy mess. Let the bread sit in the pan for ten minutes, then turn it out onto a wire rack to cool completely. If you are saving this loaf for a holiday meal, it makes an excellent base for our gluten free stuffing recipe.
- Measuring flour by volume instead of weight. A digital scale keeps your hydration ratio exact.
- Skipping the xanthan gum or psyllium husk. Without these binders, your bread will be crumbly and flat.
- Slicing the bread while it is still hot. The internal crumb needs at least an hour to set fully.
- Using cold eggs and milk. Cold ingredients shock the yeast and halt the rising process completely.
- Underbaking to avoid a dark crust. A deep brown crust is required to drive out the internal moisture.
Storing and Slicing Homemade Gluten Free Bread
Proper storage matters for homemade gluten free bread. Because it lacks the preservatives found in commercial loaves, it stales much faster. Once the loaf has cooled completely on a wire rack, use a serrated knife to slice it into even pieces. Do not use a downward pressing motion, which compresses the delicate crumb. Instead, saw back and forth gently. If you are looking for a sweeter morning option, try our sourdough apple fritter bread for inspiration on flavor additions.
Store the slices in an airtight container at room temperature for up to three days. Place a piece of paper towel in the container to absorb excess moisture and keep the crust from turning soggy. For longer storage, freeze the slices individually. Lay them flat on a baking sheet until frozen solid, then transfer them to a freezer bag. This prevents the slices from freezing into a solid block. You can pop a frozen slice directly into the toaster for a quick breakfast.
If you want to branch out, this dough is incredibly versatile. You can shape it into rolls, or even try your hand at gluten free jam filled donuts using a similar base. Adding herbs or cheese to the dough turns it into a savory side dish. If you love flavored loaves, our raspberry lemon sourdough bread is a fantastic seasonal treat. For a traditional enriched dough, the easter egg bread recipe offers excellent technique. If you prefer a classic starter discard loaf, the sourdough discard sandwich bread is a reliable choice.
Pairing this bread with savory dishes is easy. You can serve it alongside breakfast egg rolls or a hearty quinoa breakfast bowl with egg and vegetables. For dessert, a sugar free lemon blueberry pudding cake from scratch no guilt dessert offers a sweet finish to your meal.
Frequently Asked Questions
What is the secret to making gluten-free bread?
The secret lies in mimicking the structure that gluten provides. Using a combination of psyllium husk powder and xanthan gum creates an elastic network that traps yeast gases. High oven heat sets the crust quickly, and an extended cooling period finishes the internal cooking without drying out the crumb.
What is the best gluten free flour for bread?
A blend of white rice flour and tapioca flour works best. Tapioca flour provides the chewy texture that rice flour lacks, while brown rice flour adds a toasted flavor. Always use a digital scale to measure your flour, as blends vary wildly in density and will throw off your hydration ratio.
Why isn’t my bread rising?
Your yeast might be inactive, or your liquids might have been too hot. Always proof the yeast in warm milk around 105 degrees Fahrenheit before mixing. Cold eggs and cold milk can also drop the dough temperature and stall the yeast. Keep your proofing spot warm and free from drafts.
How do I know when the bread is done baking?
The crust should be a deep mahogany brown, and the internal temperature of the loaf should reach 205 degrees Fahrenheit. If you do not have a thermometer, tap the bottom of the loaf. It should sound hollow. A firm crust is essential because the bread continues to cook as it cools.
Can I use a bread machine for this recipe?
Yes, you can use a bread machine, but you must intervene. Use the dough cycle for mixing and the first rise only. Once the machine beeps, transfer the dough to your greased loaf pan, let it proof again until it crests the rim, and bake it in your conventional oven for the best crust formation.
Can I make this bread dairy free?
Absolutely. Substitute the milk with an unsweetened almond milk or oat milk, and use a neutral oil like avocado oil instead of butter. Keep the egg whites as they are, since they provide essential protein structure that keeps the crumb tender and prevents the loaf from collapsing during the bake.
Conclusion
Finding a reliable Gluten free bread recipe changes everything about how you eat. You no longer have to settle for dry, crumbly slices from the store. By using psyllium husk, a precise hydration ratio, and a bold baking temperature, you can achieve a soft, tearable sandwich bread with no gummy center.
Start with a half batch tonight and see how the dough feels in your hands. Once you nail the texture, you will never go back to commercial loaves.
For more recipes like Gluten free bread recipe, follow us on Facebook and Pinterest for weeknight dinner ideas.
More recipes in this series: