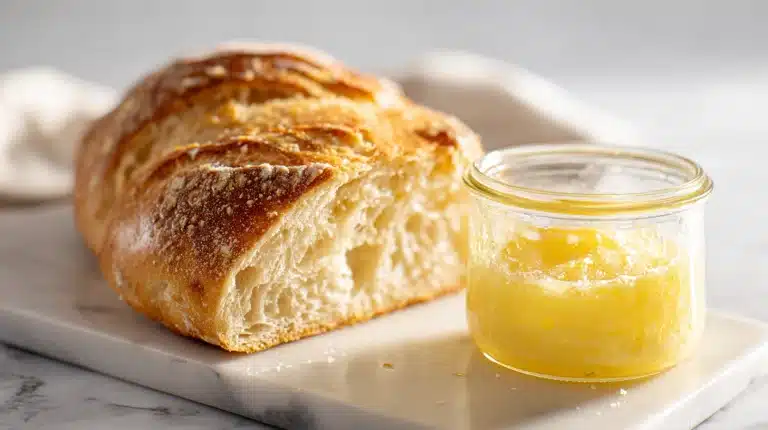
The one step most sourdough sandwich bread recipes skip is the reason your loaf turns dense. It happens during mixing, not baking. That step is the tangzhong method, a simple cooked paste that guarantees a soft, lasting texture.
If your homemade sourdough sandwich bread gets gummy or collapses by day two, this recipe solves that. You’ll get a tall, fluffy loaf that stays soft for days without preservatives.
Here you’ll learn how the tangzhong method guarantees softness, why an active starter matters more than discard, and the exact windowpane test to know your dough is ready. Your sandwiches deserve this bread.
Table of Contents
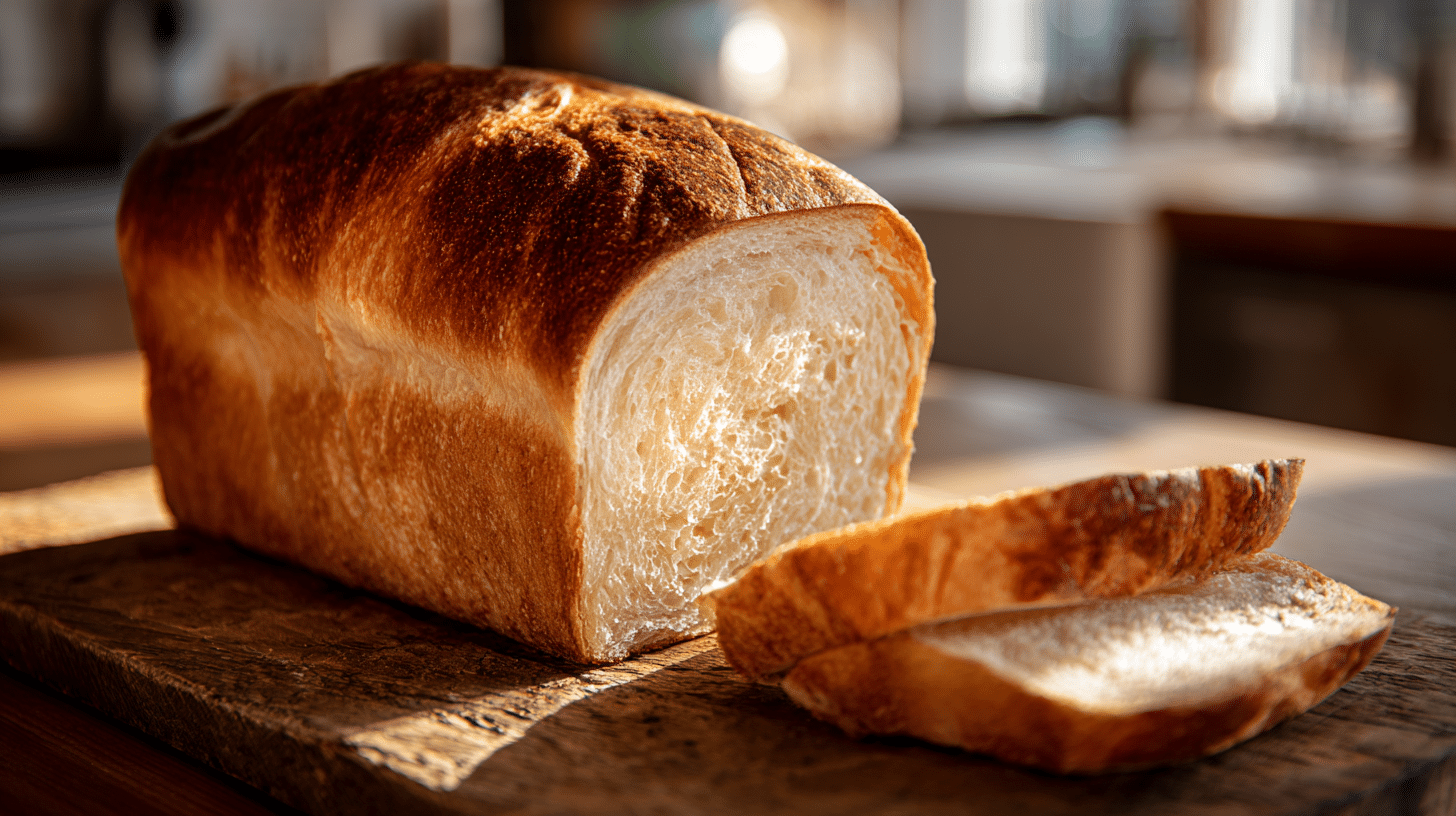
Table of Contents
Why Make Sourdough Sandwich Bread at Home?
Store-bought sandwich bread is fine. But it’s missing the character of a loaf you made yourself. Homemade sourdough sandwich bread has a unique flavor, a texture that holds up to spreads without crumbling, and it feels like a real accomplishment.
It also solves the biggest complaint about sourdough: that it’s too dense for sandwiches. This recipe delivers softness while keeping all the benefits of natural fermentation. You control the ingredients, the schedule, and the final slice.
Print
Soft Sourdough Sandwich Bread: The Tangzhong Method for a Fluffy Loaf
- Total Time: 19 hours
- Yield: 12 slices 1x
Description
This sourdough sandwich bread uses the tangzhong method to stay soft and fluffy for days. It’s made with your active starter and requires just 25 minutes of hands-on time. Perfect for everyday sandwiches and toast.
Ingredients
For the tangzhong:
50g bread flour
50g water
For the dough:
210g all-purpose flour
70g water
30g active sourdough starter
25g honey or maple syrup
6g fine sea salt
25g unsalted butter, softened
Extra butter or oil for greasing
Optional:
¼ cup seeds (sunflower, pumpkin) or rolled oats
½ cup dried fruit or nuts
Instructions
1. Make the tangzhong: In a small saucepan, whisk the 50g bread flour with 50g water until smooth. Cook over medium-low heat, stirring constantly, until thickened into a paste, about 2-3 minutes. Scrape into your stand mixer bowl and let cool for 10 minutes.
2. Mix the dough: Add all remaining dough ingredients to the bowl with the cooled tangzhong. Using the dough hook, mix on low for 2 minutes, then increase to medium speed for 8-10 minutes. The dough should become smooth and pass the windowpane test.
3. Bulk fermentation: Transfer dough to a lightly oiled bowl, cover tightly, and let rise at room temperature (70-75°F) for 6-8 hours, until puffy and about 50% larger.
4. Shape the loaf: Turn dough onto a lightly floured surface. Gently press into a rectangle, fold into a letter, then roll into a tight log. Place seam-side down into a greased 9×5-inch loaf pan.
5. Second rise: Cover pan loosely and let proof for 2-4 hours at room temperature, until dough domes above the pan rim and springs back slowly when poked.
6. Bake: Preheat oven to 350°F (175°C). Bake loaf for 40-50 minutes, until deep golden brown and the internal temperature reaches 210°F (99°C).
7. Cool: Immediately transfer bread from pan to a wire rack. Let cool completely before slicing.
Notes
Store room temperature for up to 3 days or freezer for up to 3 months. Reheat at 350°F for 10 minutes.
For best results, use your starter at its peak, when bubbly and active.
The windowpane test is key: stretch a small piece of dough; it should be thin enough to see light through without tearing.
A digital scale ensures accuracy. If mixing by hand, knead for 15-20 minutes.
- Prep Time: 25 min
- Rest Time: 14 hours
- Cook Time: 45 min
- Category: Bread, Sourdough
- Method: Baking
- Cuisine: American
Nutrition
- Serving Size: 1 slice
- Calories: 162 kcal
- Sugar: 3 g
- Sodium: 195 mg
- Fat: 3 g
- Saturated Fat: 2 g
- Unsaturated Fat: 1 g
- Trans Fat: 0 g
- Carbohydrates: 30 g
- Fiber: 1 g
- Protein: 4 g
- Cholesterol: 6 mg
The Perfect Soft, Fluffy Texture
Most sourdough loaves are crusty and chewy, perfect for soup but terrible for a peanut butter sandwich. That’s because standard methods prioritize structure over tenderness. This recipe uses two techniques to guarantee a soft, fluffy loaf every time.
First is the tangzhong. It’s a simple paste made by cooking a small portion of flour and water. This gelatinizes the starches, which locks moisture into the bread’s structure. The result is a loaf that stays supple for days instead of turning hard or gummy by lunchtime tomorrow.
Second is managing the dough hydration. I use a mix of all-purpose flour and bread flour. The all-purpose flour keeps things tender, while the bread flour gives enough strength for a good rise without making the crumb tough. It’s the balance that makes this soft sourdough sandwich bread ideal for slicing.
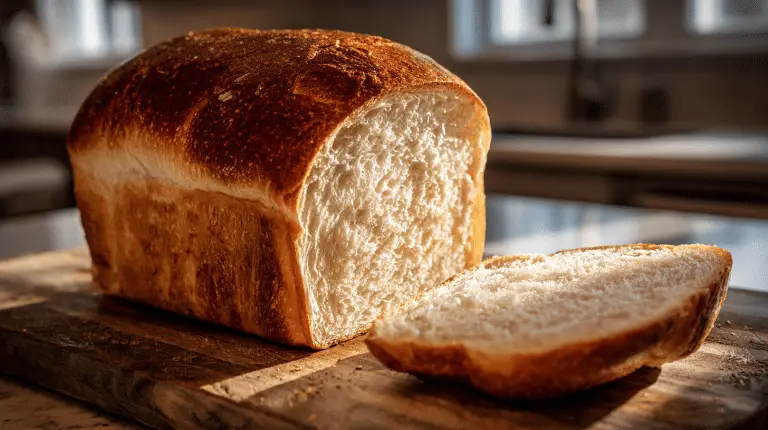
The proof is in the eating. The crumb is light and even, with no giant holes that let your mayo drip through. It toasts beautifully and still holds its shape when you pack it for a picnic.
Health Benefits of Naturally Leavened Bread
Sourdough isn’t just about taste. The long fermentation process, driven by your active starter, changes the flour in ways commercial yeast can’t match.
The bacteria and wild yeast in your starter begin breaking down the gluten proteins and starches during bulk fermentation. For many people, this pre-digestion makes sourdough easier on the stomach than quickly-yeasted breads. It also lowers the bread’s pH, which can help inhibit certain molds.
You also get better nutrient availability. Fermentation increases the levels of certain minerals and antioxidants that are bound up in raw grains. And because you’re using just flour, water, salt, and your own culture, there are no preservatives or unpronounceable additives.
For this loaf, I build a slightly sweet levain using honey or maple syrup. This not only balances any strong sour flavor but also feeds the culture thoroughly for maximum activity. It’s a wholesome foundation for your sourdough recipes.
What Makes This Recipe Beginner-Friendly
If sourdough feels intimidating, this beginner sourdough sandwich bread recipe is your gateway. It’s designed to be predictable and forgiving.
- It uses familiar tools: a stand mixer (or your hands), a standard loaf pan, and an oven.
- The timeline is flexible with clear visual cues, so you don’t need to watch it constantly.
- The windowpane test gives you a foolproof sign that your gluten has developed enough before shaping.
- Ingredients are simple: active starter, flour, water, salt, butter or olive oil, and a touch of sweetener.
Many sourdough recipes require precise temperatures and exact timing. This one has built-in buffers. The tangzhong adds tolerance to slight over-proofing by retaining moisture. Using an active starter at peak ensures a strong, reliable rise that won’t collapse in the oven.
You also get a complete sample schedule later in the article. It shows how an overnight rest fits into a normal day, so you can bake fresh bread by lunchtime without being glued to the kitchen counter. Once you master this method, you can explore more traditional sourdough bread recipes with confidence.
Ingredients & Equipment You’ll Need
Active Time: 25 minutes
Total Time: 19 hours
Yield: 1 loaf (12 slices)
For the Tangzhong:
- 50g bread flour
- 50g water
For the Dough:
- 210g all-purpose flour
- 70g water
- 30g active sourdough starter
- 25g honey or maple syrup
- 6g fine sea salt
- 25g unsalted butter, softened (or olive oil)
- Extra butter or oil for greasing the pan
No bread flour? Use all-purpose. No honey? Use 25g sugar. Vegan? Swap butter for coconut oil.
Key Ingredients Explained
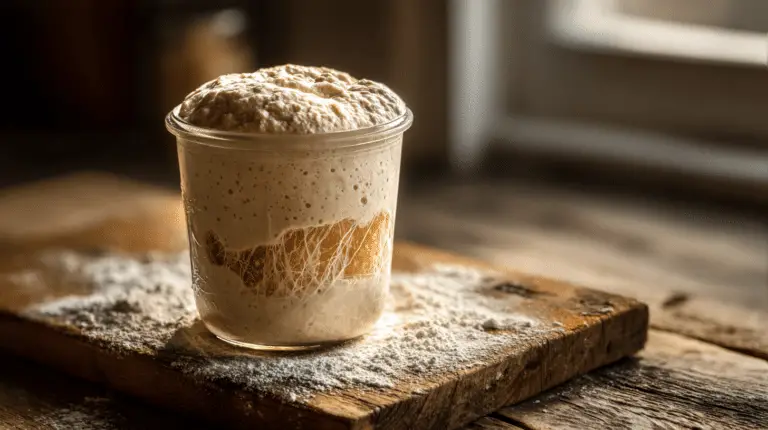
Your active starter is the engine. Use it at peak, bubbly and fragrant, not sour discard. A sleepy starter won’t provide enough lift during bulk fermentation. If you’re maintaining a unique culture like a chocolate sourdough starter recipe, this is a great way to use it.
The flour blend is crucial. Bread flour gives the dough strength for a good rise, while all-purpose flour keeps the final crumb tender and soft. The small amount of sweetener, honey, maple syrup, or sugar, feeds the culture and balances flavor without making the bread sweet. Salt controls fermentation and enhances taste. The fat, butter, or oil coats the gluten strands for a more supple, less chewy texture.
The tangzhong uses 50g of your total flour and water. Cooking this paste gelatinizes the starches, which acts like a moisture reservoir in your baked loaf. This is the secret to a soft sourdough sandwich bread that doesn’t dry out.
Optional Add-Ins & Substitutions
This recipe is a perfect blank canvas. For a classic sandwich loaf, I stick to the base ingredients. But you can easily add a quarter cup of seeds (sunflower, pumpkin) or rolled oats into the dry mix for extra texture.
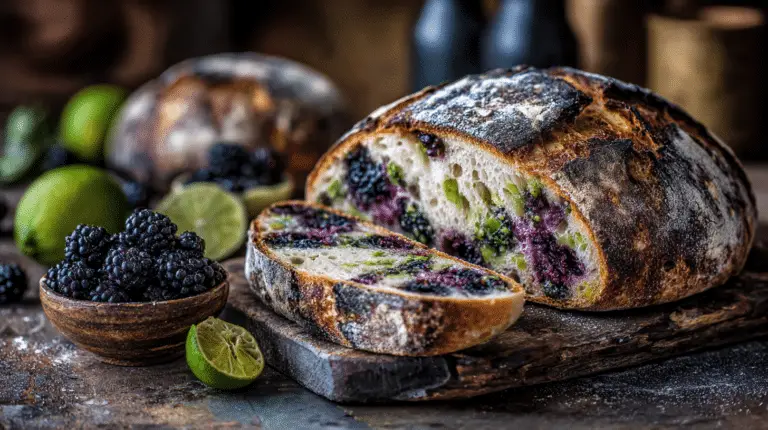
If you want to experiment with flavors, fold in up to half a cup of dried fruit or nuts after the dough comes together in the mixer. For a fun twist inspired by our blackberry lime sourdough bread, you could try adding zest and a handful of dried berries.
| Original | Substitute | Notes |
| Bread Flour | All-Purpose Flour | Use 260g total AP flour; may be slightly less tall |
| Butter | Olive Oil or Coconut Oil | Use same amount; melted coconut oil works well |
| Honey | Maple Syrup or Granulated Sugar | Same weight; sugar dissolves during mixing |
Essential Baking Tools
A digital scale is my number one recommendation. Measuring by weight (grams) is far more accurate than cups for consistent results. A stand mixer with a dough hook makes kneading effortless and ensures you can achieve the proper windowpane test. Hand mixing works but requires more time and effort.
You’ll need one standard 9×5-inch loaf pan. A Pullman pan with a lid will give you perfectly square slices, but it’s optional. For shaping and handling, keep a bench scraper handy to move the dough cleanly from your counter to the greased pan.
Other basics include a small saucepan for making the tangzhong, a spatula, and a clean kitchen towel for covering the dough during its long rest. An instant-read thermometer is useful to confirm your bread has reached an internal temperature of about 210°F (99°C) when done baking.
Step-by-Step Sourdough Sandwich Bread Instructions
Step 1: Mix the Dough
First, make the tangzhong. In a small saucepan, whisk the 50g of bread flour with 50g of the water until smooth. Cook over medium-low heat, stirring constantly, until it thickens into a paste, about 2-3 minutes. Scrape it into your stand mixer’s bowl and let it cool for 10 minutes. This cooked paste is your secret for a soft crumb.
Add all remaining ingredients to the bowl with the cooled tangzhong: your active sourdough starter, the 210g of all-purpose flour, the remaining 70g of water, honey, salt, and softened butter. Using the dough hook, mix on low for 2 minutes until combined, then increase to medium speed for 8-10 minutes. The dough will start sticky, but should become smooth and pull away from the bowl sides. To check, stop the mixer and perform the windowpane test: gently stretch a small piece of dough. If you can see light through it without it tearing, your gluten is perfect. This is your key to good dough hydration and structure.
Chef’s Note: If mixing by hand, expect to knead for 15-20 minutes to achieve the same smooth, elastic consistency. The stand mixer just gets you there faster.
Step 2: Bulk Fermentation (First Rise)
Place the smooth dough into a lightly oiled bowl. Cover it tightly with plastic wrap or a damp towel. Now, let time do the work. This bulk fermentation is where flavor develops, and the dough gains air.
Let the dough rest at room temperature (around 70-75°F / 21-24°C is ideal) for 6-8 hours. It won’t necessarily double, but it should look puffy, have visible bubbles on the surface, and be about 50% larger. A longer, cooler bulk ferment (like overnight in a cooler spot) will develop more sour flavor. The timeline here is flexible; watch the dough, not the clock.
Step 3: Shape the Loaf
Turn the risen dough out onto a lightly floured surface. Gently press it into a rough rectangle, degassing it slightly. Fold the right third of the dough over the center, then fold the left third over that, like a letter. Starting from the top, tightly roll the dough down into a log, pinching the seam closed with your fingertips.
Place the shaped log seam-side down into a generously greased 9×5-inch loaf pan. Gently tuck the ends under to create an even loaf. For perfectly square slices, you can use a lidded Pullman pan instead.
Watch Out: Avoid adding too much extra flour during shaping, as it can create dry streaks in your baked bread. A lightly oiled bench scraper helps handle sticky dough.
Step 4: Second Rise (Proofing)
Cover the pan loosely with plastic wrap or a reusable cover. Let the dough proof for the second time. This final rise usually takes 2-4 hours at room temperature, or you can place it in the refrigerator overnight for baking the next morning.
The dough is ready to bake when it has domed nicely above the rim of the pan and springs back slowly when you gently poke it with a floured finger. If the indent springs back immediately, it needs more time. If it doesn’t spring back at all, it may be over-proofed; bake it immediately.
Sample Baking Schedule (Overnight Method):
- 9:00 PM: Mix dough, begin bulk fermentation on the counter.
- 7:00 AM: Shape dough, place in pan.
- 7:15 AM: Place the pan in the refrigerator for cold proofing.
- 4:00 PM: Preheat oven. Bake straight from the fridge.
Step 5: Bake to Perfection
Preheat your oven to 350°F (175°C). For a soft crust, bake the loaf uncovered. For a slightly crisper top, you can brush it with milk or melted butter before baking.
Bake for 40-50 minutes. The loaf is done when the top is a deep golden brown and, most importantly, the internal temperature reaches 210°F (99°C). An instant-read thermometer is your best friend here. That perfect internal temperature guarantees the loaf is fully set, not gummy.
Transfer the bread from the pan to a wire rack immediately. Let it cool completely before slicing; this is non-negotiable for the texture to set. The wait is worth it for that perfect, soft crumb. This easy sourdough sandwich loaf stays fresh for days, but it also freezes beautifully. Once completely cool, wrap the whole loaf or individual slices tightly in plastic and freeze for up to 3 months.
Serving, Storage & Expert Tips
How to Store & Freeze Your Bread
Let the loaf cool completely on a wire rack before you even think about slicing. Cutting into warm bread traps steam and creates a gummy texture. Once cool, store it for daily use by wrapping it tightly in a beeswax wrap or placing it in a bread bag. It will stay soft on the counter for up to 3 days.
For longer storage, freezing is your best bet. Slice the entire loaf first. This lets you pull out just what you need. Place parchment paper between slices, wrap the whole stack tightly in plastic wrap, and seal it in a freezer bag. It keeps for up to 3 months. To refresh, toast frozen slices directly, or reheat a whole loaf (thawed) at 350°F for 10 minutes to bring back that fresh-baked feel. Avoid the fridge, it dries bread out faster.
| Storage Method | Duration | Best For |
| Counter (wrapped) | Up to 3 days | Immediate eating |
| Freezer (sliced & wrapped) | Up to 3 months | Long-term keeping |
Troubleshooting Common Issues
Even with a great recipe, sourdough can be unpredictable. Here’s how to fix the most common problems.
| Problem | Solution |
| Dough not rising | Your active starter might be sleepy. Use it at peak, bubbly activity. Ensure your room isn’t too cold (below 70°F/21°C). If your water is chlorinated, let it sit out overnight before using. |
| Dense, heavy loaf | This often means under-developed gluten. Next time, mix longer until you pass the windowpane test. Also, don’t let bulk fermentation run too long, which can exhaust the yeast. |
| Gummy texture | You likely sliced it warm. Wait until it’s fully cool. Also, verify the internal temperature hit 210°F (99°C) during baking. |
| Over-proofed, flat loaf | The dough domed over the pan but collapsed. Watch for the poke test during proofing; it should spring back slowly, not immediately or not at all. |
| Loaf sticks to the pan | Grease your loaf pan generously with butter or oil. Let the baked loaf rest for 5 minutes in the pan, then turn it out. |
| Too sour | Use a younger, sweeter levain (fed 4-6 hours before mixing). A longer, cooler bulk ferment increases sourness. |
Delicious Serving Ideas & Variations
This bread is made for sandwiches. It’s tight, soft crumb holds up to juicy tomatoes and thick spreads without getting soggy. It makes exceptional toast, especially with a swipe of good butter and a sprinkle of sea salt. For a party, slice it thinly for tea sandwiches or cube it for a savory bread pudding.
To mix things up, try folding in ⅓ cup of raisins and a teaspoon of cinnamon during the final minute of mixing. For a nuttier flavor, replace half of the all-purpose flour with whole wheat flour, but add an extra tablespoon of water to the dough. If you love fruity flavors, the method here works beautifully for sweeter loaves; just adjust the add-ins. Our strawberry lemon sourdough bread and lemon blueberry sourdough bread are great examples.
The tangzhong method itself is a key technique for softness. Once you master it here, you can apply it to any enriched dough recipe.
Your Sourdough Sandwich Bread Questions, Answered
Why is my sourdough sandwich bread not rising?
Your active starter likely wasn’t at peak activity. Use it when it’s bubbly and has doubled in size, 4-6 hours after feeding. Also, ensure your kitchen is warm enough (70-75°F is ideal). A cold environment during bulk fermentation can slow or stall the rise significantly.
Can I make this sourdough sandwich loaf with sourdough discard instead of active starter?
No, I don’t recommend it for this recipe. Sourdough discard is inactive and won’t provide the necessary lift during the bulk fermentation. Using an active starter at its peak is essential for the strong, reliable rise needed for a tall, fluffy loaf.
Why is my sandwich bread gummy inside?
The most common reason is slicing it while it’s still warm. You must let it cool completely on a wire rack for 2-3 hours. Also, verify your bread reached an internal temperature of 210°F (99°C) when baked. Cutting too soon traps steam, creating a dense, gummy texture.
Does sourdough bread make good sandwiches?
Absolutely. This recipe creates a soft, tight crumb specifically for sandwiches. It holds up to spreads and juicy ingredients without falling apart or getting soggy. The slight tang from natural fermentation adds a fantastic flavor that makes even a simple turkey sandwich taste exceptional.
Your sourdough sandwich bread stays soft for days thanks to the tangzhong, and an active starter ensures a reliable rise. The windowpane test and final internal temperature of 210°F are your keys to a perfect, fluffy loaf every time. The flavor and texture are absolutely worth making yourself.
I always make two loaves and freeze one sliced. The feeling of pulling a slice from the toaster on a Tuesday morning is unmatched. Give this recipe a try this weekend.
What’s the first sandwich you’ll build with your fresh loaf?
For more recipes like sourdough sandwich bread, follow us on Facebook and Pinterest for easy baking projects and more ways to use your sourdough starter.