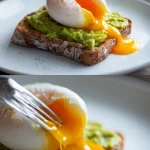
Poached eggs terrified me until I spent a summer working in a brunch kitchen and cracked thousands of them. Here is the surprising truth: poaching eggs is not about luck.
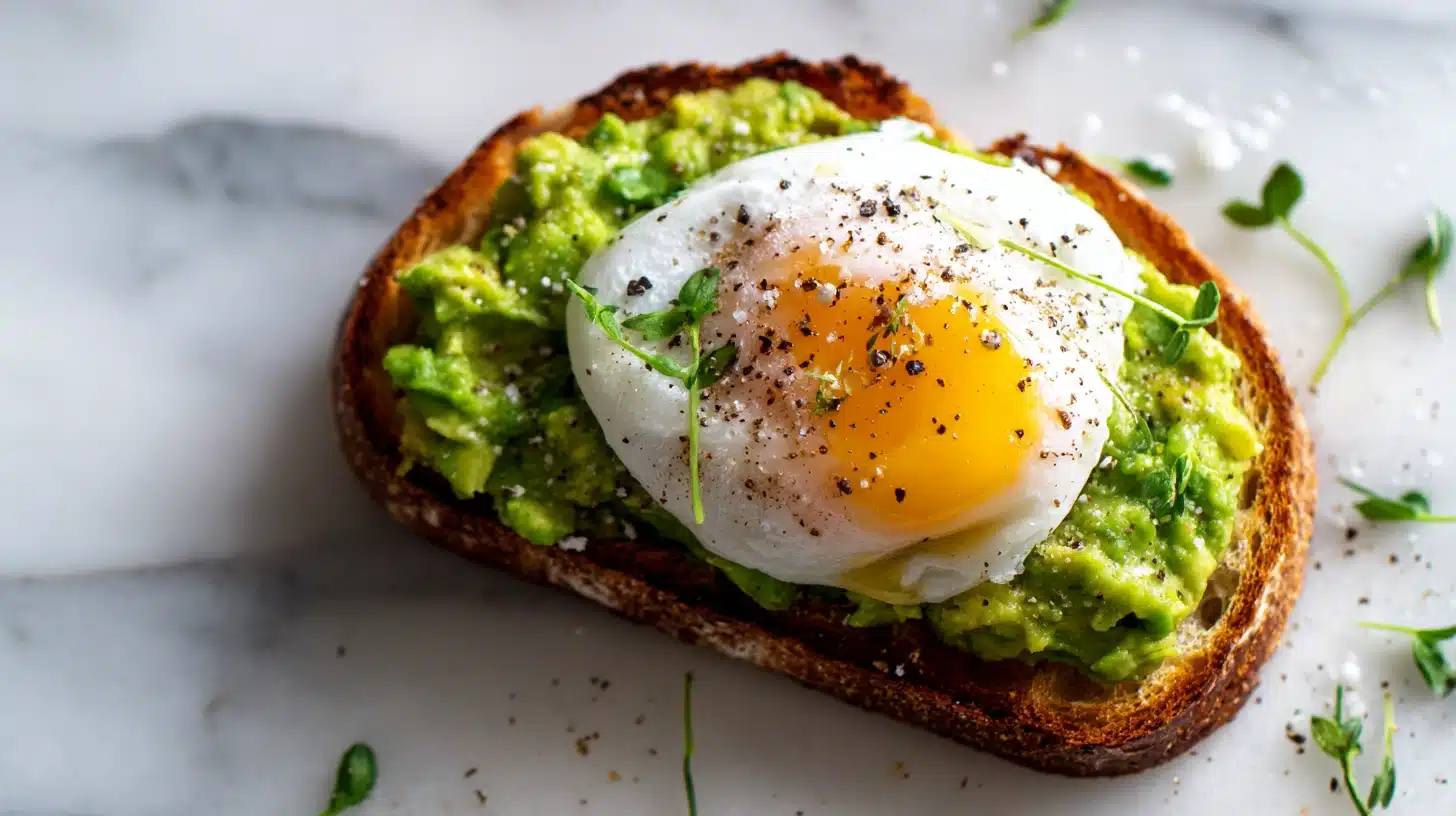
Those wispy, feathered whites floating in your saucepan ruin the look and leave you with a soggy mess. I will show you the exact temperature and one simple preparation step that guarantee tidy, tender poached eggs.
This guide covers the fine mesh strainer technique for tight whites, the precise water temperature for a runny yolk, and timing tricks for making poached eggs ahead of time.
Table of Contents
The core technique for perfect poached eggs
The secret comes down to three things: temperature, water movement, and egg freshness. Once you understand how these factors interact, you never have to guess about how to poach an egg again.
Let’s start with temperature. You want your water between 180 and 190 degrees Fahrenheit. If you have a thermometer, use it. If you do not, look for tiny bubbles forming at the bottom of the saucepan and gentle steam rising from the surface. The water should never reach a hard boil. A rolling boil agitates the egg whites, tearing them apart before they can coagulate.
Freshness plays a massive role in the final shape. An older egg has a thin, watery white that disperses the moment it hits the water. A very fresh egg has a tight inner white that clings to the yolk, so you get that compact, restaurant-quality shape. If your eggs are not fresh from the farm, do not worry. You can still make great poached eggs by using a fine mesh strainer. Crack the egg into the strainer over a bowl and let the watery outer white drain away for ten seconds. You are left with the firm inner white and the intact yolk, which hold their shape beautifully in the hot water.
Now let’s talk about the cooking vessel. You need a deep saucepan or skillet filled with about three inches of water. Three inches is deep enough for the egg to suspend, cook evenly on all sides, and develop that classic teardrop shape. If you are looking for a high protein breakfast option without the oil, this method is far lighter than an egg white frittata recipe. Add one tablespoon of white wine vinegar to the water. The acidity helps the proteins in the egg whites denature and bond together faster, so you get a smooth surface instead of a ragged edge. Do not add too much vinegar, or your poached eggs will taste like pickles. I learned that one the hard way.
The whirlpool method
Once your water reaches the correct temperature and you have added the vinegar, use a slotted spoon to create a gentle whirlpool in the center of the saucepan. The water should rotate steadily but not violently. Crack your strained egg into a small ramekin first. Never crack directly into the water, as shell fragments can ruin the texture and the drop height can break the yolk. Lower the ramekin close to the swirling water and slide the egg into the center of the vortex. The circular motion wraps the egg whites around the yolk into a neat, self-contained package. Let the water keep moving gently for the first ten seconds to let the whites set.
Print
How to Make Perfect Poached Eggs Every Single Time
- Total Time: 8 min
- Yield: 2 servings 1x
- Diet: Gluten Free, Low Carb, Vegetarian
Description
A simple method for making perfectly shaped poached eggs with tender whites and a runny yolk. Uses a fine mesh strainer and a whirlpool technique for restaurant quality results.
Ingredients
For the eggs:
2 large eggs (fresh)
1 quart water
1 tablespoon white wine vinegar
1/2 teaspoon salt
For serving:
1 pinch flaky sea salt
1 pinch cracked black pepper
Instructions
1. Fill a deep saucepan with three inches of water and add the white wine vinegar and salt. Heat over medium until small bubbles form on the bottom and steam rises gently.
2. Crack one egg into a fine mesh strainer set over a bowl and let the watery white drain for ten seconds. Transfer the egg to a small ramekin.
3. Use a slotted spoon to create a gentle whirlpool in the center of the saucepan.
4. Lower the ramekin close to the swirling water and slide the egg into the center of the vortex.
5. Cook for exactly three minutes without disturbing the water, until the whites are opaque and the yolk is still soft.
6. Use the slotted spoon to lift the egg out of the water and rest it on a folded paper towel for three seconds to drain.
7. Transfer to a plate, season with flaky sea salt and cracked black pepper, and serve immediately.
Notes
Store leftover poached eggs in a bowl of ice water in the refrigerator for up to 2 days.
To reheat, drop the cold egg into a bowl of gently simmering water for 30 to 60 seconds.
For a jammy yolk, increase the cooking time to 4 minutes.
Use apple cider vinegar as a substitute if you do not have white wine vinegar.
- Prep Time: 5 min
- Cook Time: 3 min
- Category: Breakfast
- Method: Stovetop
- Cuisine: American
Nutrition
- Serving Size: 1 poached egg
- Calories: 72 kcal
- Sugar: 0 g
- Sodium: 150 mg
- Fat: 5 g
- Saturated Fat: 1 g
- Unsaturated Fat: 4 g
- Trans Fat: 0 g
- Carbohydrates: 0 g
- Fiber: 0 g
- Protein: 6 g
- Cholesterol: 186 mg
Essential equipment and ingredients for poaching eggs
You do not need a kitchen full of gadgets to master poaching eggs. The beauty of this technique is its simplicity. But having the right tools gives you consistent results every single time.
First, you need a deep saucepan. A standard three quart saucepan works perfectly, with enough depth for the egg to cook evenly without resting on the bottom and flattening out. If you prefer a wider cooking surface, a large skillet works well, but you must monitor the water temperature more closely because it evaporates faster. If you enjoy experimenting with other egg dishes, you might also like making kimchi eggs for a spicy twist.
The second tool is a slotted spoon. This is critical for lifting the finished egg out of the water without draining it. A thin metal slotted spoon works best because it slides easily under the delicate egg without tearing the cooked whites. You also need a fine mesh strainer, as mentioned earlier. This single tool bridges the gap between farm fresh eggs and grocery store eggs. By draining the watery outer white, you get a clean shape without needing to buy specialty eggs. A small ramekin is the final tool. Cracking the egg into a ramekin first gives you complete control over the entry into the water and lets you remove any broken shell pieces.
The ingredient list is intentionally short. You need fresh eggs, water, white wine vinegar, and salt. The quality of your eggs matters here. Since you are essentially cooking the egg naked, without butter or cream to mask flaws, a high quality egg shines through. Look for pasture raised eggs with deep orange yolks. The flavor is richer, and the texture of the white is firmer, making your job much easier. White wine vinegar is the traditional choice because its mild flavor does not overpower the egg. You can use apple cider vinegar in a pinch, but it has a stronger taste. Table salt is fine for seasoning the water, but a sprinkle of flaky sea salt on the finished egg adds a good crunch.
Understanding vinegar ratios
The amount of vinegar you use determines how well your egg whites coagulate. The standard ratio is one tablespoon of white wine vinegar per quart of water. If you use too little, the whites will spread out and look ragged. If you use too much, the egg will taste sharp and acidic. If you want to explore other culinary uses for brine and acid, you can read about the salt water flush recipe and its role in cooking. For poaching eggs, measure your vinegar carefully. The acid causes the protein chains in the egg whites to bond together tightly and form a protective skin around the yolk. This skin is what holds the shape of the poached egg.
Step by step guide to homemade poached eggs
Now let’s put all the theory into practice. This breakdown walks you through exactly how to poach an egg, from turning on the stove to plating your meal. Pay attention to the sensory cues along the way. The smell of the warm vinegar water, the sound of gentle bubbles, and the visual shift of the egg white from clear to opaque all tell you that you are on the right track.
Start by filling your deep saucepan with three inches of water. Place it over medium heat. Add the white wine vinegar and a pinch of salt. While the water heats, prepare your egg. Crack it gently into the fine mesh strainer set over a small bowl. Swirl the strainer slightly to encourage the thin, watery part of the egg white to drip through. You will see the difference immediately. The watery white is runny and transparent. The inner white is thick, gelatinous, and holds its shape around the yolk. This step takes about ten seconds and is the most important thing you can do for perfect poached eggs. Transfer the strained egg into your ramekin.
Check the water temperature. Look for small bubbles forming on the bottom of the pan and rising slowly to the surface. There should be steam rising, but the water should not be bubbling vigorously. Use your slotted spoon to stir the water in a circle to make a smooth whirlpool. Gently lower the ramekin into the center of the whirlpool and slide the egg out. Do not drop it from a height. The water movement will wrap the egg white around the yolk automatically. Set a timer immediately. For a runny yolk with set whites, cook for exactly three minutes. Do not touch the egg during this time. If the water stops moving, give it one gentle stir to maintain the shape. If you are planning a large breakfast spread, these poached eggs pair well with scrambled eggs with cottage cheese for a protein packed morning.
After three minutes, use your slotted spoon to gently lift the egg out of the water. The white should be fully opaque and feel slightly firm to the touch. The yolk should remain soft and jiggle when you shake the spoon. Place the spoon on a folded paper towel for three seconds to drain any excess water. This keeps your toast from getting soggy. Serve the egg immediately. Season the top with flaky sea salt and freshly cracked black pepper.
Timing for different yolk doneness
Everyone has a preference for how they like their yolks. The timing for poaching eggs is precise, so you have complete control. For a super soft, barely set white and a completely liquid yolk, cook for two minutes. For a classic runny yolk and tender white, three minutes is your target. For a jammy, custard like yolk with a firmer white, cook for four minutes. And for a hard yolk with no runniness, cook for five minutes. Keep in mind that the egg will continue to cook slightly after you remove it from the water, so pull it out just before it reaches your desired doneness. This timing is for large eggs. If you are using medium or extra large eggs, adjust the cooking time down or up by thirty seconds.
Make ahead strategies for easy poached eggs
One of the best secrets in professional kitchens is that poached eggs are almost never made to order. They are cooked ahead of time, held at a safe temperature, and warmed just before serving. This means you can make poached eggs for a crowd without standing over the stove while your guests eat. Once you master this technique, you will never stress about brunch again.
To make poached eggs ahead of time, follow the standard cooking process, but cook them for only two and a half minutes instead of three. They should be slightly undercooked. Immediately transfer the cooked eggs from the hot water into a bowl of ice water. This stops the cooking process instantly, so the whites stay in their current state and the yolks stay runny. You can store the eggs in the ice water in the refrigerator for up to two days. This makes them great for meal prep. They hold their shape perfectly and reheat in less than a minute.
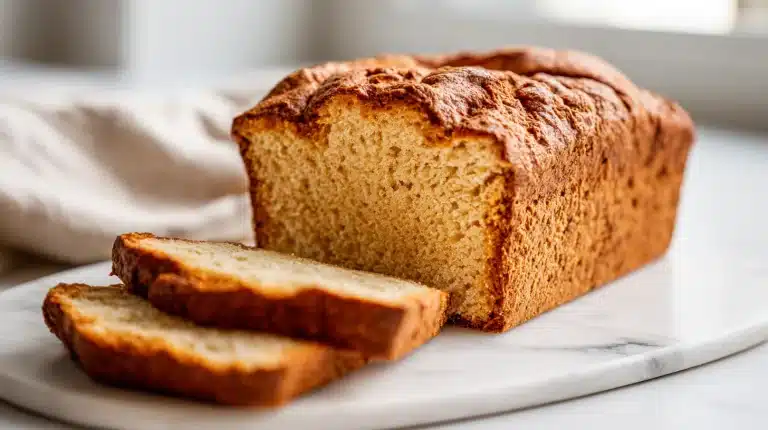
When you are ready to serve, bring a fresh pot of water to a gentle simmer. Do not reheat them in the original poaching water. Use your slotted spoon to lift the cold poached eggs out of the ice bath and lower them into the simmering water for thirty to sixty seconds. The warm water heats them through without further cooking the yolk. Remove them, drain briefly on a paper towel, and serve. The texture and flavor are indistinguishable from freshly poached eggs. This technique is useful if you are planning a weekend brunch or a holiday breakfast alongside an easter egg bread recipe. No last minute stress, just good eggs.
Troubleshooting common poaching problems
Even with the best preparation, you might hit a few hiccups. If your egg whites are spreading out despite using a strainer and vinegar, your water is likely too hot. Reduce the heat and wait for the bubbles to calm down before adding the next egg. If the yolk breaks when you put the egg in the water, you are dropping it from too high up. Slide it out of the ramekin directly onto the surface of the water. If your poached eggs have a sour taste, you used too much vinegar. Stick to one tablespoon per quart of water. With a little practice, your poached eggs will look like they came straight from a restaurant kitchen.
4 More Ways to Poach an Egg (No Stovetop Required)
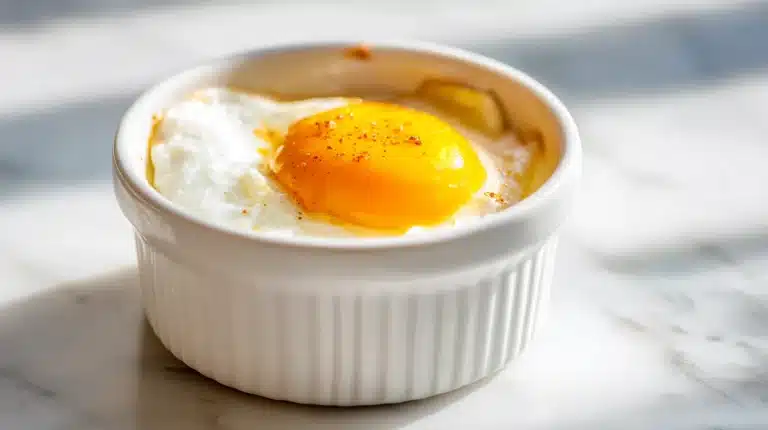
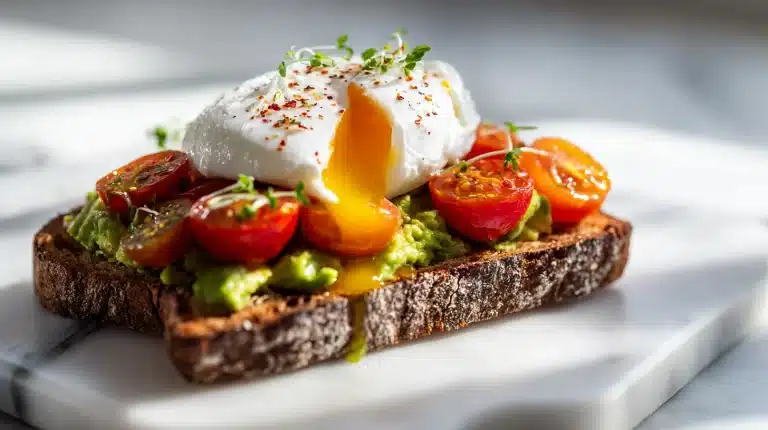
The classic simmer-and-swirl isn’t the only way. Depending on your kitchen and your morning, one of these might fit better: learn how to poach an egg in the microwave in 90 seconds, make hands-off air fryer poached eggs, batch perfect sous vide poached eggs, or put it all together on avocado toast with a poached egg.
Frequently asked questions
How do you poach an egg correctly?
To poach an egg correctly, fill a deep saucepan with three inches of water and bring it to a gentle simmer. Add one tablespoon of white wine vinegar. Strain the egg to remove loose whites, create a gentle whirlpool in the water, and slide the egg into the center. Cook for three minutes for a runny yolk.
Are poached eggs good for diabetics?
Yes, poached eggs are excellent for diabetics because they are cooked without butter or oil, keeping the fat content low. Eggs are naturally low in carbohydrates and high in protein, which helps stabilize blood sugar levels. Always consult your doctor for personalized dietary advice.
What are three tricks to making the best poached egg?
First, use a fine mesh strainer to remove the watery outer egg white so the egg holds its shape. Second, add white wine vinegar to the water to help the proteins coagulate faster. Third, create a whirlpool in the water before adding the egg to wrap the white tightly around the yolk.
Is it 3 minutes for poached eggs?
Yes, three minutes is the standard cooking time for a poached egg with a runny yolk and fully set whites. If you prefer a softer white and completely liquid yolk, cook for two minutes. For a firmer, jammy yolk, extend the time to four minutes.
Conclusion
Once you can poach an egg, you have options. Avocado toast. Rice bowls. A piece of buttered toast with nothing else on it. By straining your egg, managing the water temperature, and using the whirlpool technique, you eliminate the guesswork.
Give this method a try this week. Cook a few extra, chill them in ice water, and enjoy an effortless weekday breakfast whenever you want.
For more recipes like poached eggs, follow us on Facebook and Pinterest for cozy brunch inspiration.
More recipes in this series: